

How to Record a Band Demo
A demo shows people what your band sounds like. Venue bookers, label reps, playlist curators, potential band members, fans. It's not meant to be a final polished album. It's meant to represent your sound accurately and professionally.
Pick Your Songs
Choose 3-5 songs that represent what your band does best. Don't include everything you've ever written. Pick the songs that get the best reaction at shows. Pick the ones you play the tightest.
If you have a song that's still half-written or has a section nobody agrees on, leave it off the demo. Record what's ready.
Rehearse Specifically for the Session
Rehearse the demo songs, not your full set. Play them in the order you'll record them. Play them start to finish without stopping. If someone makes a mistake, push through and finish the song. That's what happens in a session.
Three dedicated rehearsals focused on the demo songs is the minimum. More if any songs have weak spots.
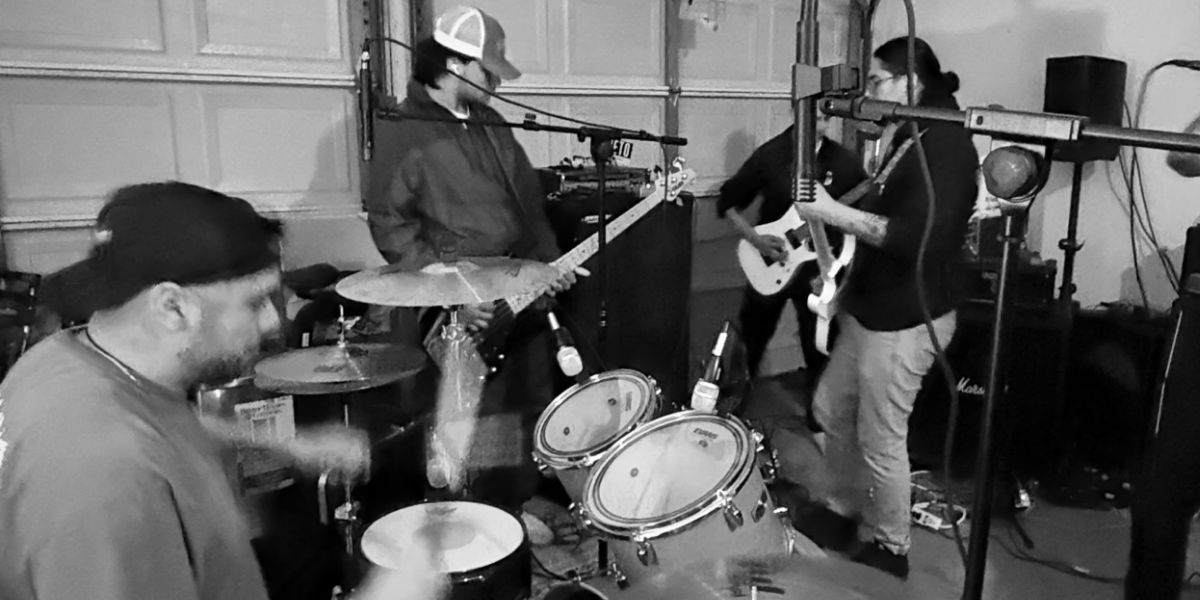
The Session
On session day, we set up at your location, mic everything, run a sound check, and start tracking. You'll play through each song multiple times. We'll pick the best takes together.
Don't try to be perfect. Try to play with energy and conviction. A take with a tiny imperfection but great feel almost always beats a technically perfect take that sounds stiff.
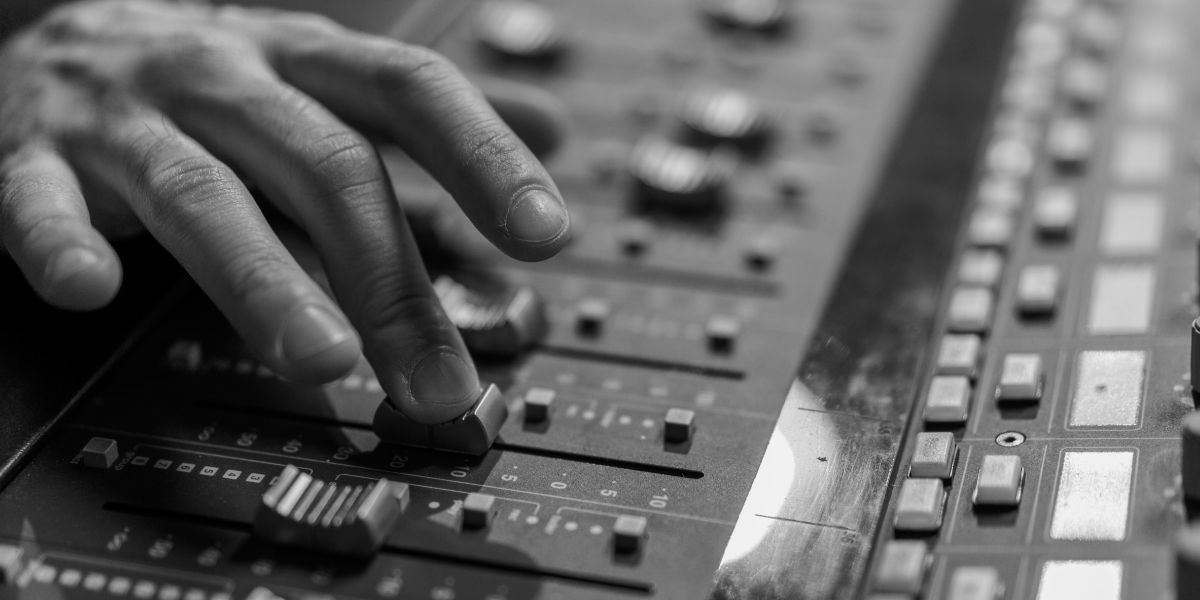
After the Session
If you went with Mix & Master, you'll get release-ready files in about 5 business days. Upload them to your distributor (DistroKid, TuneCore, CD Baby) and your demo is on Spotify, Apple Music, and everywhere else.
Send the demo to venues with your booking inquiry. Include it in your social media bio. Email it to anyone you want to hear your music. A professional demo opens doors that a phone recording never will.
Frequently Asked Questions
Put This into Practice
Book a session at our Las Cruces studio, or have us bring the setup to you.
Book a Session